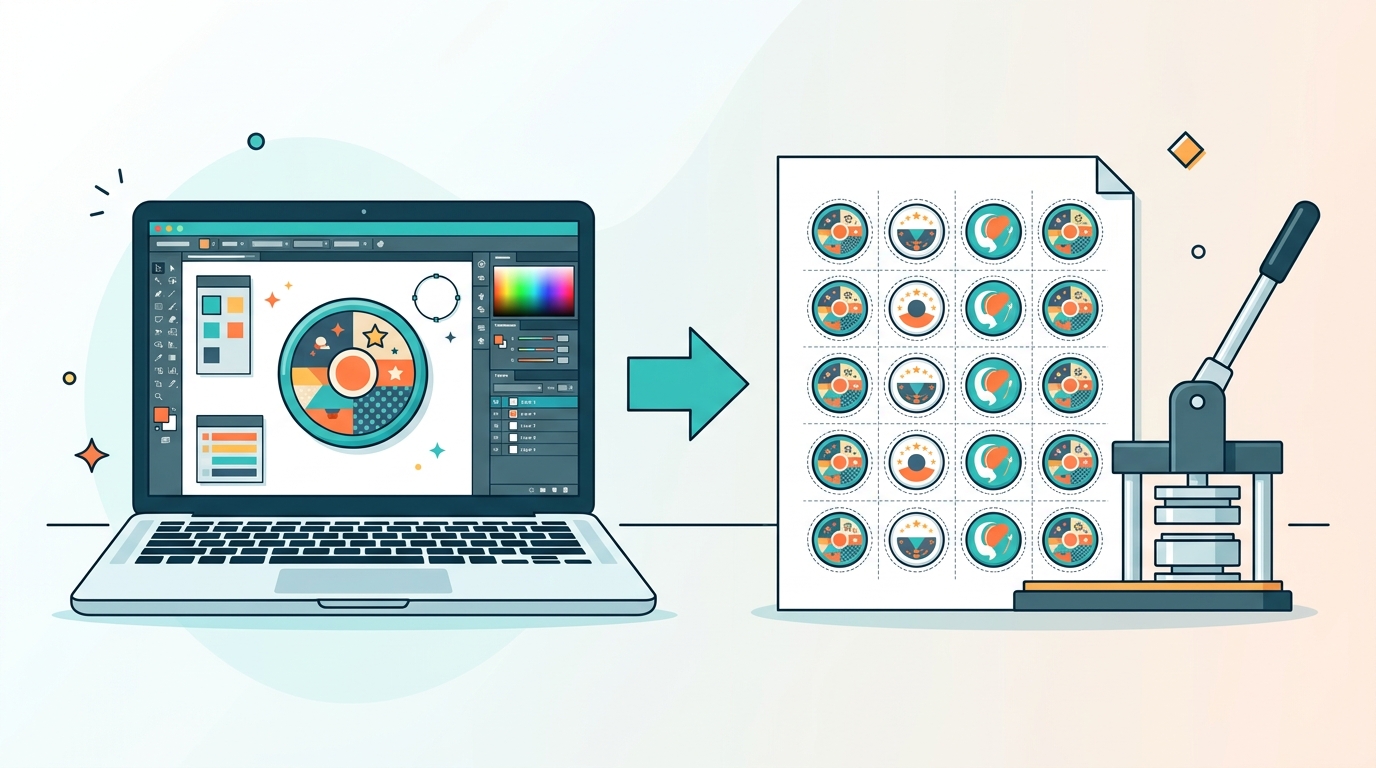
Canva is a good place to make button artwork. You can build a logo, add text, arrange photos, make a party design, or create a small collection for an Etsy shop.
The part that catches people out comes later: a nice round design on screen is not automatically a print-ready sheet for a button machine. You still need the right artwork size, room around the edge, repeated copies on the page, and printer settings that do not quietly scale the result.
The simple workflow is this: use Canva to design the artwork, then use Button Print Maker to prepare the sheet.
Open Button Print Maker — free, browser-based, no install →
The short answer: the tools do different jobs
Canva and Button Print Maker are not really trying to do the same thing.
Canva is useful for the design job: creating the individual visual that will appear on the face of a button. That might be a name, illustration, logo, photo, event artwork, band graphic, or a simple piece of text.
Button Print Maker is useful for the production job: turning that finished visual into a repeat-print sheet for a supported button size.
You can absolutely make a button sheet manually in Canva. If you are making a few different designs and enjoy controlling every millimetre of the page, that can be the right choice. But you need to manage the sizing, layout, edge area, duplication, and print scale yourself.
For most small batches, the combined workflow is faster: create the artwork in Canva, then make the print sheet in Button Print Maker.
What Canva is good for when you design buttons
Canva is handy when the design itself is the main task. Start with your own canvas, add a photo or illustration, choose type, and build a design that fits your event, shop, or brand.
It works especially well for:
- school spirit buttons with a name or mascot
- birthday, wedding, or fundraiser designs
- band merch and simple logo buttons
- photo buttons
- small collections with different sayings or colours
- Etsy product artwork
The important thing is to design for the finished button, not just for a circle on a screen. Keep a face, logo, QR code, or small text away from the outer edge. The paper needs room to wrap around the metal shell, so the visible face is smaller than the full printed artwork.
If you are new to that part, read what bleed means for button artwork before you commit to a large batch.
What you still have to manage when making a sheet manually
A Canva design can be perfectly good and still fail at the press. These are the four production jobs that matter.
1. The visible button size is not the whole artwork size
A 1 inch button has a visible face close to 1 inch, but the printed circle needs extra artwork around that face. That outer area wraps around the shell.
If the background stops at the visible edge, you can end up with a white halo or an awkward cropped border after pressing. Extend plain backgrounds and non-essential artwork beyond the visible face.
2. Important details need a safe area
Keep names, faces, logos, and readable text in the centre of the design. The outer rim is where small details are most likely to disappear, bend, or look uneven after the button is pressed.
This is why simple artwork often looks better on a 1 inch button than a tiny poster squeezed into a circle.
3. Repeating the design takes page-layout work
For a sheet of identical buttons, you need to duplicate the artwork, keep the circles evenly spaced, and leave sensible margins for your printer and cutter. It is possible to do in Canva, but it is a manual layout task each time you change size or design.
4. Printer scaling can undo correct artwork
When it is time to print, choose Actual Size or 100% scale. Avoid Fit to Page. Even a small automatic scale change can make a circle wrong for the cutter or press.
Always press one test button before printing and cutting a full run.
What Button Print Maker is designed to do
Button Print Maker handles the sheet-preparation step in a browser. Upload the finished artwork, choose a size, and prepare a page for printing without installing software or manually placing every repeated circle.
It supports workflows for:
- 1 inch
- 1.25 inch
- 2.25 inch
- 25 mm
- 32 mm
- 58 mm
The tool does not replace a test press. Different machines, cutters, shells, printers, and paper can behave differently. But it removes a lot of repetitive page-layout work when your goal is a usable button sheet rather than a general design canvas.
Make a button sheet in your browser →
How to make a button design in Canva, then prepare the sheet
1. Create one clean design in Canva
Make the artwork you want on the front of the button. Use a simple, high-contrast design if you are working with a 1 inch or 25 mm button. Keep important text and faces away from the outer edge.
2. Export your finished artwork
Export the cleanest image file available in your Canva workflow. Use the original artwork rather than a screenshot, and make sure it is sharp enough for print.
3. Open Button Print Maker and upload it
Open the designer in your browser and upload the artwork. There is nothing to install.
4. Select the size that matches your machine
Choose the size required by your button press and parts. Do not guess from a ruler alone: check the machine, cutter, shells, and supplier guidance first.
If you are unsure which size you own, start with our pinback button size guide.
5. Prepare the print sheet
Preview the artwork and make sure the important part of the design remains safely inside the centre. Generate the sheet, then print it at Actual Size or 100%.
6. Test one button before a full batch
Cut and press one sample. Check that the background wraps cleanly, text remains visible, and the circle works with your cutter. Adjust before you print fifty more.
Which option should you choose?
Use Canva alone if you want full manual control
Canva can be enough if you are making a small number of different designs, building a more unusual page layout, or you are already comfortable setting up print sheets yourself.
You will need to take responsibility for the circle size, edge area, duplicate layout, and printer settings.
Use Button Print Maker if the sheet is the problem
Choose Button Print Maker when you already have the design and want to make repeated, button-focused sheets without re-building the layout in a general design tool.
It is particularly useful for makers producing the same design in a batch, event organisers, teachers, and sellers who need to move from artwork to print quickly.
Use both for the most practical workflow
For most people, this is the best split:
- Design the artwork in Canva.
- Prepare the button sheet in Button Print Maker.
- Print one test at 100%.
- Press the batch once the test looks right.
Size and machine compatibility come first
A template is only useful when it matches the actual press and parts on your table. A 1 inch button and a 25 mm button are close, but not necessarily interchangeable. The same goes for 2.25 inch and 58 mm equipment: check your machine and make a test piece rather than relying on the label alone.
For a smaller US-size workflow, start with our 1 inch button template guide. For the wider production process — paper, printing, cutting, pressing, and common mistakes — read how to make pinback buttons at home.
FAQ
Can I make pinback button designs in Canva?
Yes. Canva is a useful place to create the individual button artwork. Keep important content away from the outside edge, then use a test print to check how it wraps around your specific button shell.
Can I print button sheets directly from Canva?
Yes, if you manually set up the correct artwork circles, repeated layout, and printer scale. Button Print Maker is for makers who want to move that sheet-preparation step out of a general design canvas.
Why is the edge of my button design getting cut off?
The usual causes are artwork placed too close to the outer edge, not enough background extending around the face, or the page being scaled by the printer. Keep key content in the centre and print at Actual Size / 100%.
Should I choose Actual Size or Fit to Page?
Choose Actual Size or 100% scale for a button template. Fit to Page can change the circle size enough to cause problems with a cutter or press.
What size should I use for a 1.25 inch or 58 mm button?
Use the size specified for your exact press and parts. Check the product information from your machine or shell supplier, then test one button before a full batch.
Is Button Print Maker free to try?
Yes. You can use the browser-based tool for free with a watermark on output. If you need clean output, watermark removal is €3.90 for 24 hours.
Make the artwork in Canva, then make the sheet for your button machine
Canva is a solid design tool. The missing step for button makers is often not creativity — it is preparing a correctly sized, repeatable sheet for the press.
Create your artwork in Canva, then use Button Print Maker to make a test-ready sheet in your browser. No install required.